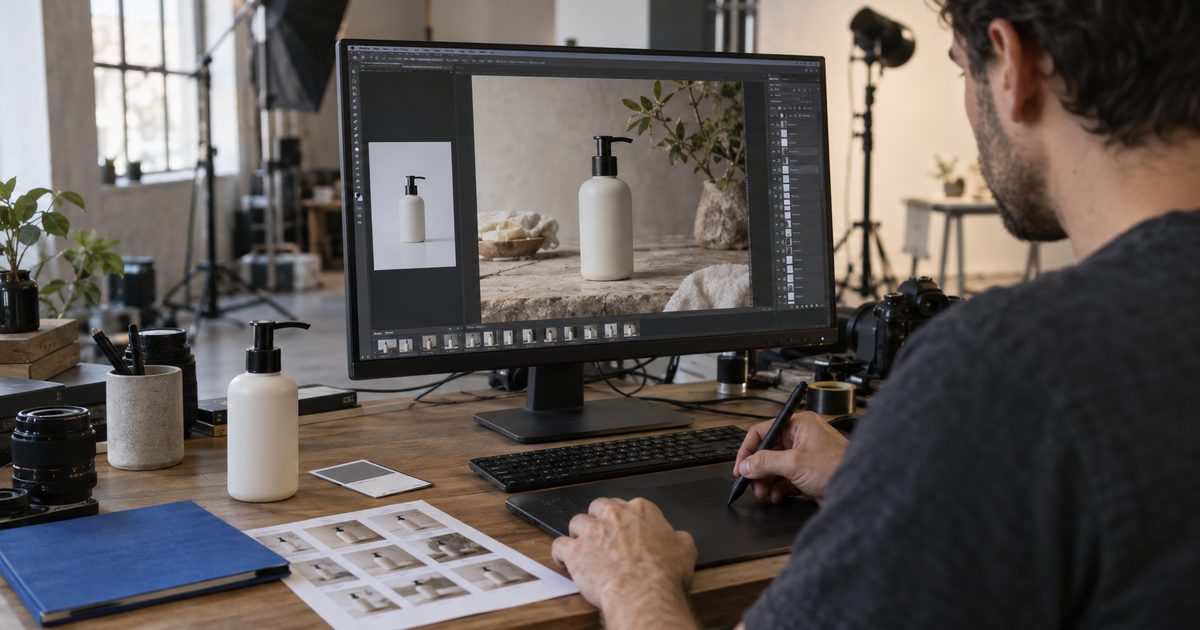
Use AI to build the scene, not to become the source of truth for the packaging. Start with a sharp real packshot, use references to guide composition, preserve or re-composite the original product and supplied label artwork, and verify every label word before delivery. A generated scene can save production time, but a reference image does not promise an exact label.
This workflow was reviewed against current Adobe, Google, and OpenAI documentation on July 11, 2026. It separates provider capability from Bielfor field practice and keeps approved packaging assets in the layered file.
What can a reference image actually establish?
Adobe’s product-reference tutorial starts with a product photo, selects a model such as Gemini 3.1, and generates a realistic scene around that reference. It supports the core production idea: a product image can guide subject identity, while the prompt controls location, framing, lighting, and texture.
That source does not promise an exact label. Adobe’s separate text-reference tutorial says its first result was “not exactly what we wanted” even after a structure reference was supplied. Adobe describes reference controls as guidance with adjustable resemblance and creative freedom. Reference guidance is not exact label proof.
The production boundary is therefore clear. A reference can guide geometry, color, composition, and visual identity. It does not replace the approved packshot, dieline, logo, or legal copy. Preserve source pixels when the product already exists. For an unreleased package, assemble the exact artwork in Photoshop or a 3D mockup, then use generation around that asset.
How should the production workflow be staged?
1. Prepare an approved source asset
Use the highest-resolution packshot available for the intended angle. Remove dust and glare without rewriting the label. Keep the untouched capture and supplied vector artwork in the document so later comparisons do not depend on memory.
If the brief needs front, side, and three-quarter views, capture or render those views. Additional angles reduce ambiguity about hidden surfaces, but they do not establish unseen geometry with certainty.
2. Generate the environment separately
Describe the surface, lighting direction, lens feel, framing, props, and mood. Ask for a scene that accommodates the product rather than asking the model to redesign the pack. For a wide composition where the label would occupy few pixels, generate the environment without the product and composite the approved packshot afterward.
3. Preserve or re-composite the product
Place the real cutout above the generated scene. Match contact shadow, reflection, color temperature, and local contrast. If a generated version of the product offers a useful shadow or silhouette, use it as a reference layer rather than as the final packaging source.
4. Repair only the failed region
Use a separate layer and a controlled selection for props, background seams, contact shadows, or non-label surface defects. Keep the approved product layer available for comparison throughout the repair.
5. Run a recorded QC pass
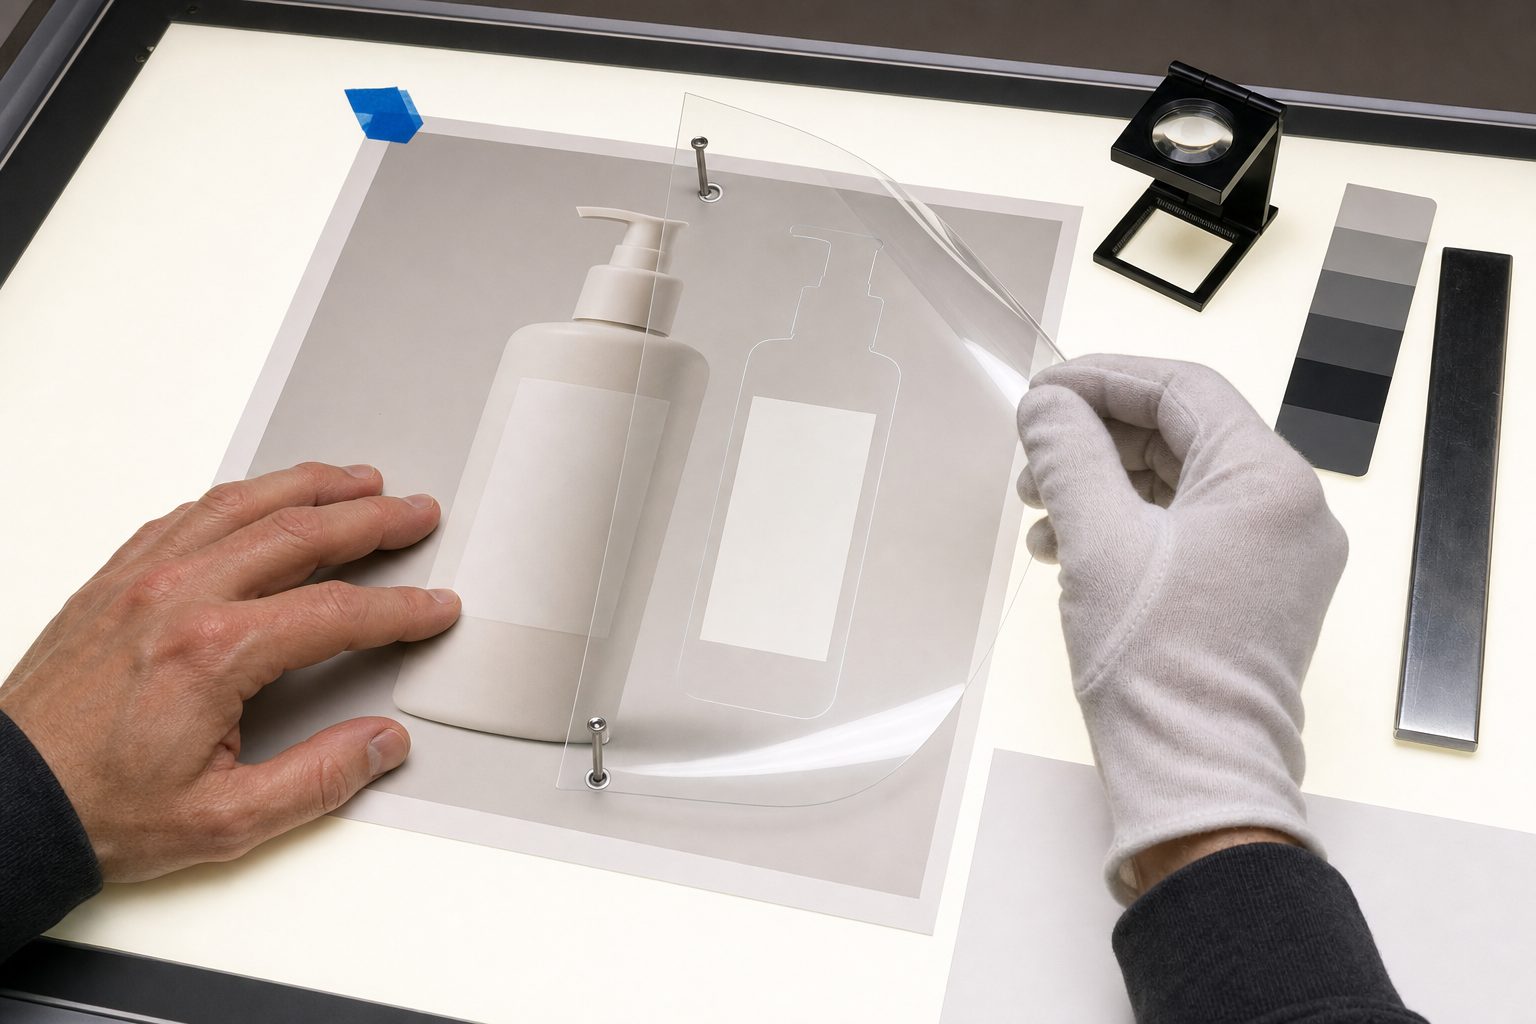
Compare the layered composite with the approved packshot and artwork. Record what was checked, who checked it, and the export reviewed. This turns label inspection into a repeatable production gate rather than a visual impression.
How should reference limits be described?
Adobe’s Photoshop reference-image guide documents Gemini up to 8 images and Flux up to 3 images inside the current Photoshop workflow. These are Adobe-in-Photoshop interface limits.
Provider API limits are separate and model-specific. Google’s image generation guide documents different reference behavior for the original model, Nano Banana 2, and Pro. OpenAI’s image generation guide documents its own editing behavior and remaining limits. A plugin can reserve inputs for a selected Photoshop region, so its visible add-on slots can differ again.
Do not collapse those four ideas into one number:
- provider API input limit;
- Adobe-in-Photoshop reference limit;
- a particular plugin’s interface allocation;
- the smaller set a production team chooses for a repeatable test.
How should local repairs be handled?
A selection-based repair narrows the area being generated, but selection context, feather, and boundary behavior still need inspection. The model can use surrounding pixels as context. OpenAI’s mask guidance says a mask guides the edit but may not follow its exact shape with complete precision. The placed layer can also blend beyond the exact visual edge expected by the retoucher.
For each repair:
- duplicate or preserve the approved state;
- keep the selection away from exact label text when practical;
- inspect feathered edges, masks, reflections, and nearby source pixels;
- compare the repair with the before state and approved product source;
- reject the repair if it changes a verified label, logo, pack shape, or claim.
This is Bielfor field practice. It is not a promise that a model or paste-back operation leaves every pixel outside a selection unchanged.
What must the final QC pass verify?
Inspect the final composite at 100% zoom and at the intended delivery size. The first catches local defects; the second shows whether the product remains readable in context.
- Read every word and number against the approved packshot or artwork.
- Compare logo geometry, spacing, brand color, and required marks.
- Check net weight, ingredient copy, regulatory text, price, and disclaimers.
- Inspect the label in reflections and glossy highlights.
- Check product silhouette, cutout halos, contact shadow, and prop intersections.
- Confirm that the exported color space and pixel dimensions match the brief.
Exact production text should remain live type or supplied vector artwork. If the surface needs curvature, perspective, blur, or grain, apply those effects to the approved artwork on its own layer. The generated raster remains a visual element, not the authoritative text file.
Which model should handle each step?
Bielfor workflow judgment, not a provider claim: test a representative brief with the product occupying its real final-frame size. Compare label error rate, editability, rerolls, retouch time, output dimensions, and total request cost. A model that produces an attractive first frame can still be the slower production choice after label replacement and QC.
Google documents model-specific reference and output controls in its image generation guide. OpenAI documents image editing, flexible dimensions, and remaining precise-text and consistency limits in its image generation guide. Those provider pages establish capabilities, not a cross-provider production ranking.
A practical routing test can use three tasks:
| Test task | What to measure | Passing evidence |
|---|---|---|
| Scene around a clean packshot | product silhouette, light, contact shadow | approved product can be retained or re-composited cleanly |
| Local non-label repair | boundary blend, reflection, texture | before-and-after comparison shows no rejected collateral change |
| Final-size label review | word accuracy, logo shape, readability | every label element matches approved artwork or is replaced with exact artwork |
Publish a model preference only with the test date, prompt set, resolution, and reference set. Model behavior changes too quickly for an undated universal claim.
How does this run inside Photoshop?
The manual route is straightforward: generate through an official provider tool, download the selected scene, place it as a layer, composite the approved packshot, and run the QC checklist. It adds file movement but keeps every evidence boundary visible.
Bielfor builds Creator MAX, a BYO-key Photoshop panel, so this article is not an independent review of it. For current pricing, supported models, requirements, privacy, and terms, use the product page and documentation. The workflow itself does not depend on that panel.
FAQ
Can a reference image reproduce an exact real label?
A reference image can guide a generation, but current provider and Adobe documentation do not promise exact label reproduction. Preserve or re-composite the approved packshot and label artwork, then inspect every word.
Do I need a studio packshot?
You need a sharp, approved source image for each required product angle. A controlled phone photo can work when the label, silhouette, color, and reflections are suitable for the final use.
Should the model generate regulated label text?
Keep regulated, contractual, price, ingredient, and brand-critical text as live type or supplied vector artwork. Use generated packaging for concept direction, then replace exact production copy before delivery.
Does a local inpaint affect only the selection?
Treat the selection as a workflow boundary, not proof of model-side immutability. Inspect context, feathered edges, masks, placement, and surrounding approved pixels after each repair.
How do I compare models for product photography?
Run the same representative brief, reference set, output size, and QC sheet. Measure accepted results and retouch time, not only the first visual impression.